Studio vs Warehouse Product Photography: Pros, Cons and Real-World Challenges
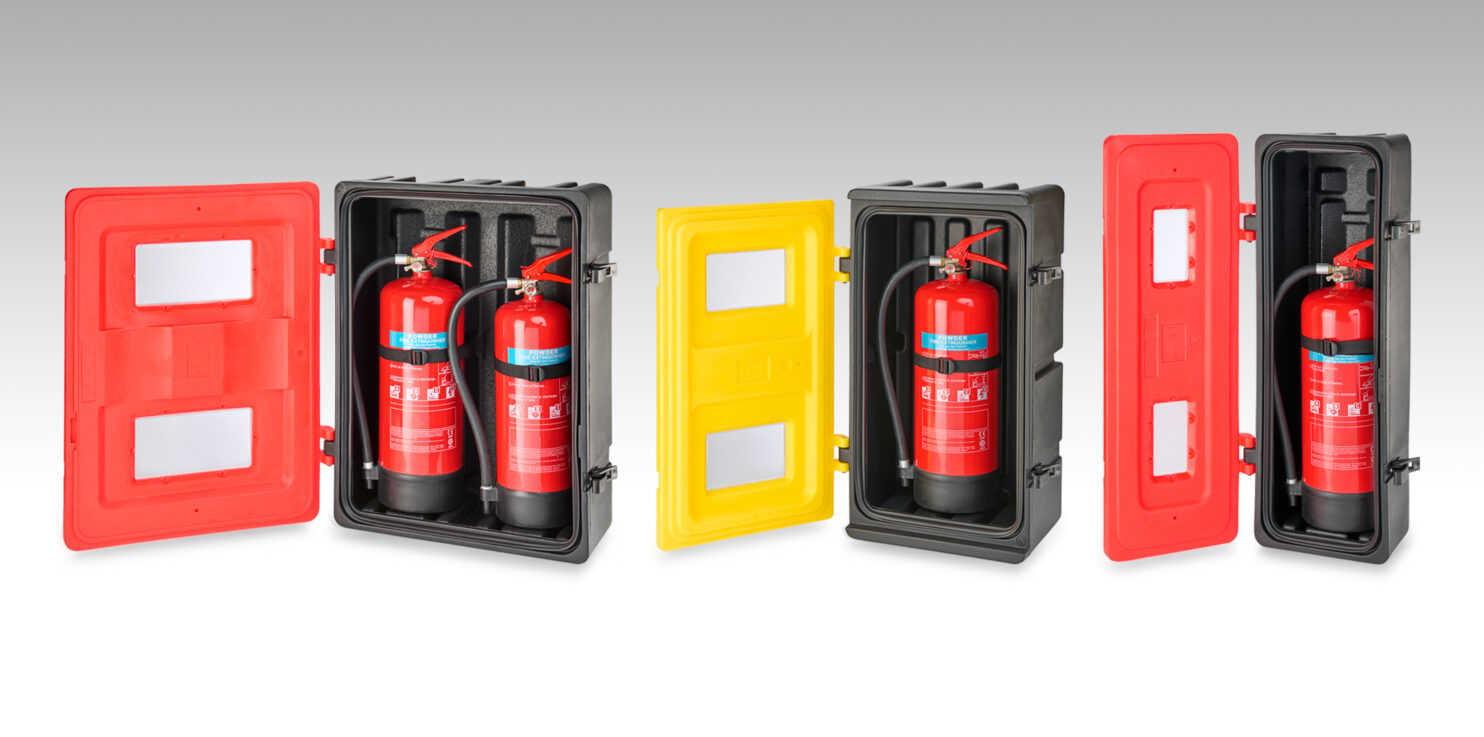
The enveloping darkness of a photographic studio can feel a bit like stepping into a theatre. Ordinary objects take on a different weight, becoming something closer to objets d’art under carefully shaped light. Some days I’m there in the quiet, working through the low hum of moody jazz, chasing a reflection that makes a product come alive. Other days, I’m on a warehouse floor, finger hovering over the shutter, waiting for a forklift to rumble past so I can grab a clean frame.
Photographing products in a fully controlled studio versus carving out a temporary setup in a working warehouse are two very different experiences. Each has its own rhythm, its own frustrations, and its own advantages.
Building a makeshift studio on-site starts with space — and there’s never quite as much of it as you’d like. Even with a small product, the footprint grows quickly. Lights, stands, modifiers, backgrounds, camera distance, prep areas… it all adds up. Finding a workable corner becomes a balancing act between practicality and compromise.
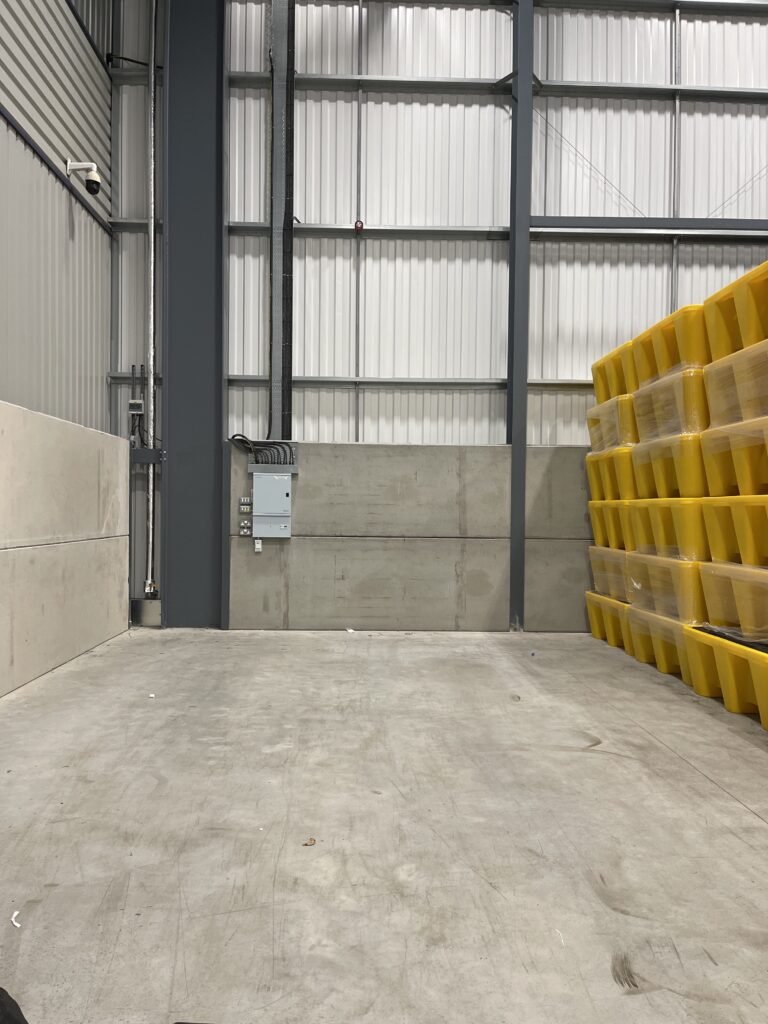
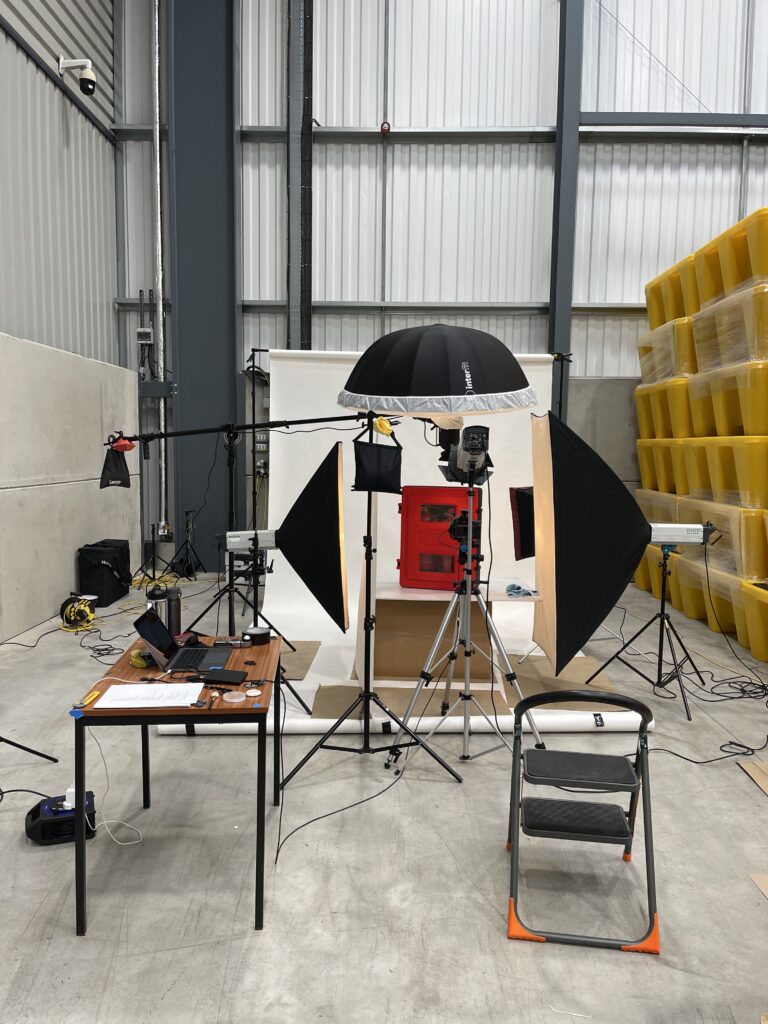
Light is the real battleground. In a warehouse, you’re rarely starting from zero. There’s always something bleeding in — overhead strips, skylights, open doors. Ideally, you’d black everything out, kill the ambient, and build from scratch, but that’s not always realistic when the space is in constant use. So you adapt. You overpower what you can with flash, flag off what you can’t, and keep an eye out for colour casts and stray reflections creeping in.
If you’re lucky, there’s an office or side room with enough height to work in — something you can close off, control, maybe even leave set up overnight. That’s usually the sweet spot for smaller products. Alongside that, having a separate prep area makes a noticeable difference. Cleaning, organising, and staging products away from the set keeps things moving, especially when you’re dealing with volume.
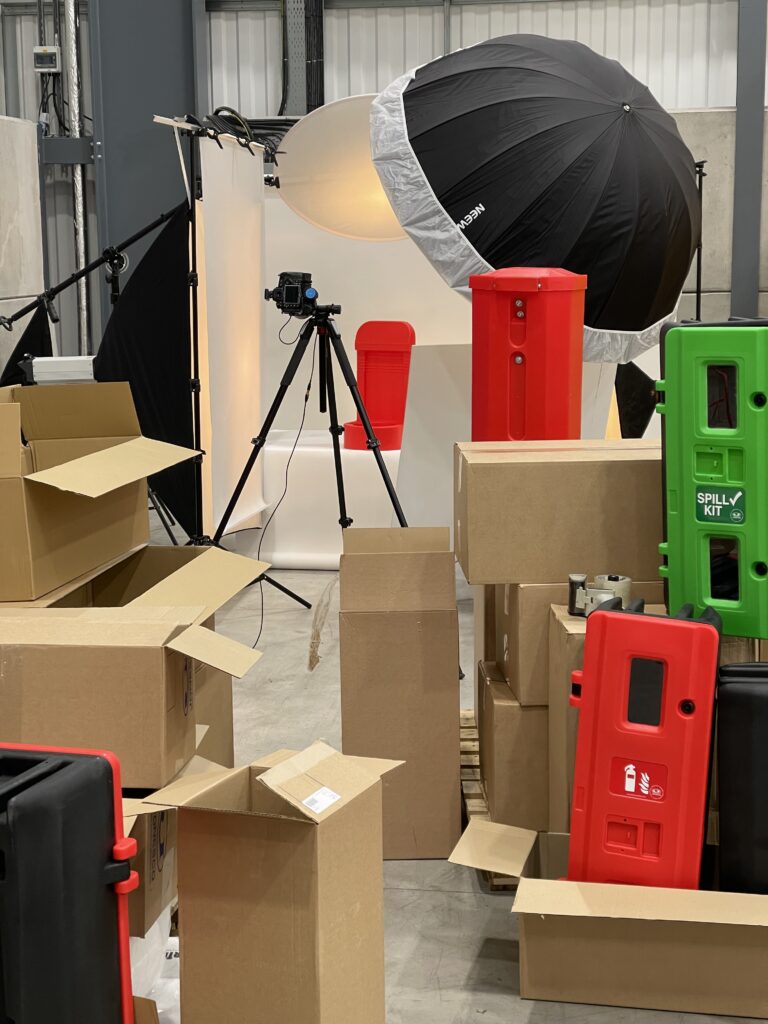
Then there are the less obvious challenges. Dust is relentless, particularly on clean white setups. Forklift warning lights can trigger your flash heads without warning. Roller doors open and suddenly you’re dealing with gusts of air lifting backgrounds and nudging softboxes out of position. None of it is insurmountable, but it does mean you’re constantly adjusting.
That said, shooting on location does have its strengths. You’ve got immediate access to stock, which means you can pick the best example rather than making do with what turned up at a studio. Large or heavy items are easier to manage when you’re already where they live. And if something needs fixing or tweaking, there’s usually someone nearby who can sort it quickly. From the client’s side, it’s less disruptive too — they’re on hand when needed, without having to step away from their day.
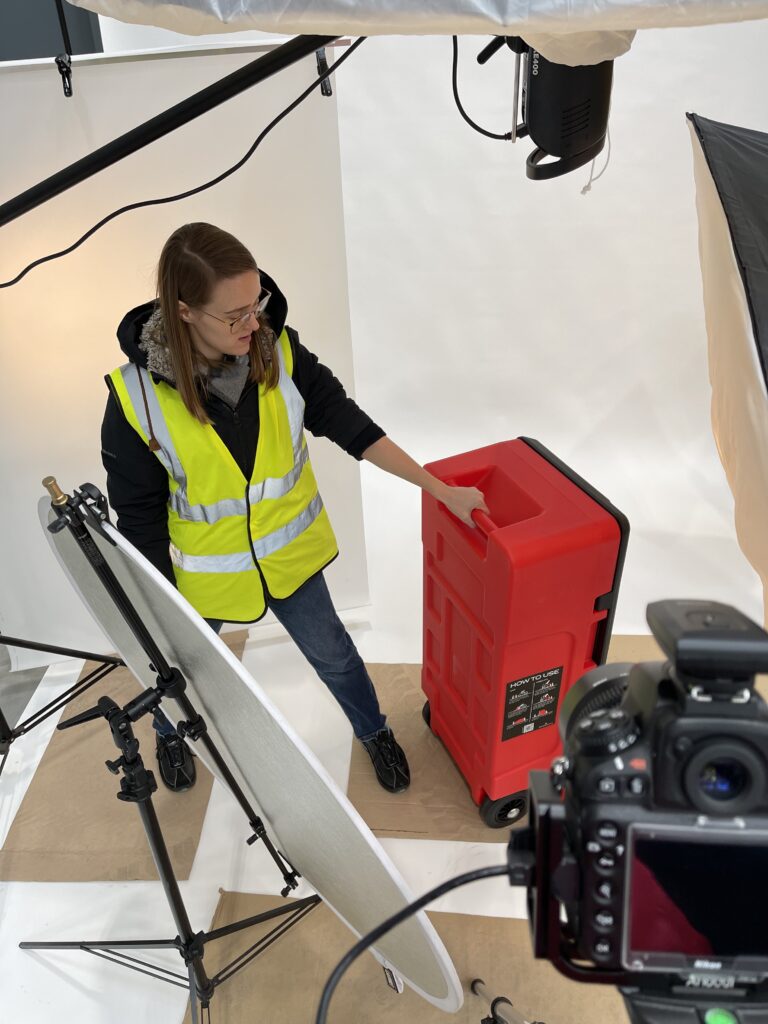
A dedicated studio, though, is a different world. It’s about control, plain and simple. Light behaves because you make it behave. You can shape it precisely — refining highlights, controlling shadows, managing reflections — until the product sits exactly where you want it. That level of control isn’t just technical, it gives you the mental space to experiment. You’re not firefighting the environment, you’re focused on the image.
That’s where consistency comes in as well. Once you’ve built something that works, you can repeat it. Same lighting, same feel, same result — whether that’s tomorrow or six months down the line.
If I had the choice, I’d take the studio every time. But it’s not always that simple. Shooting on location can be more practical, more efficient, and more cost-effective depending on the brief. If you’re already there to capture installations or document a process, it often makes sense to build a temporary setup and cover everything in one go.
In the end, it’s a trade-off. Control versus convenience. Precision versus practicality. The job is figuring out where that balance sits for each shoot — and making it work.